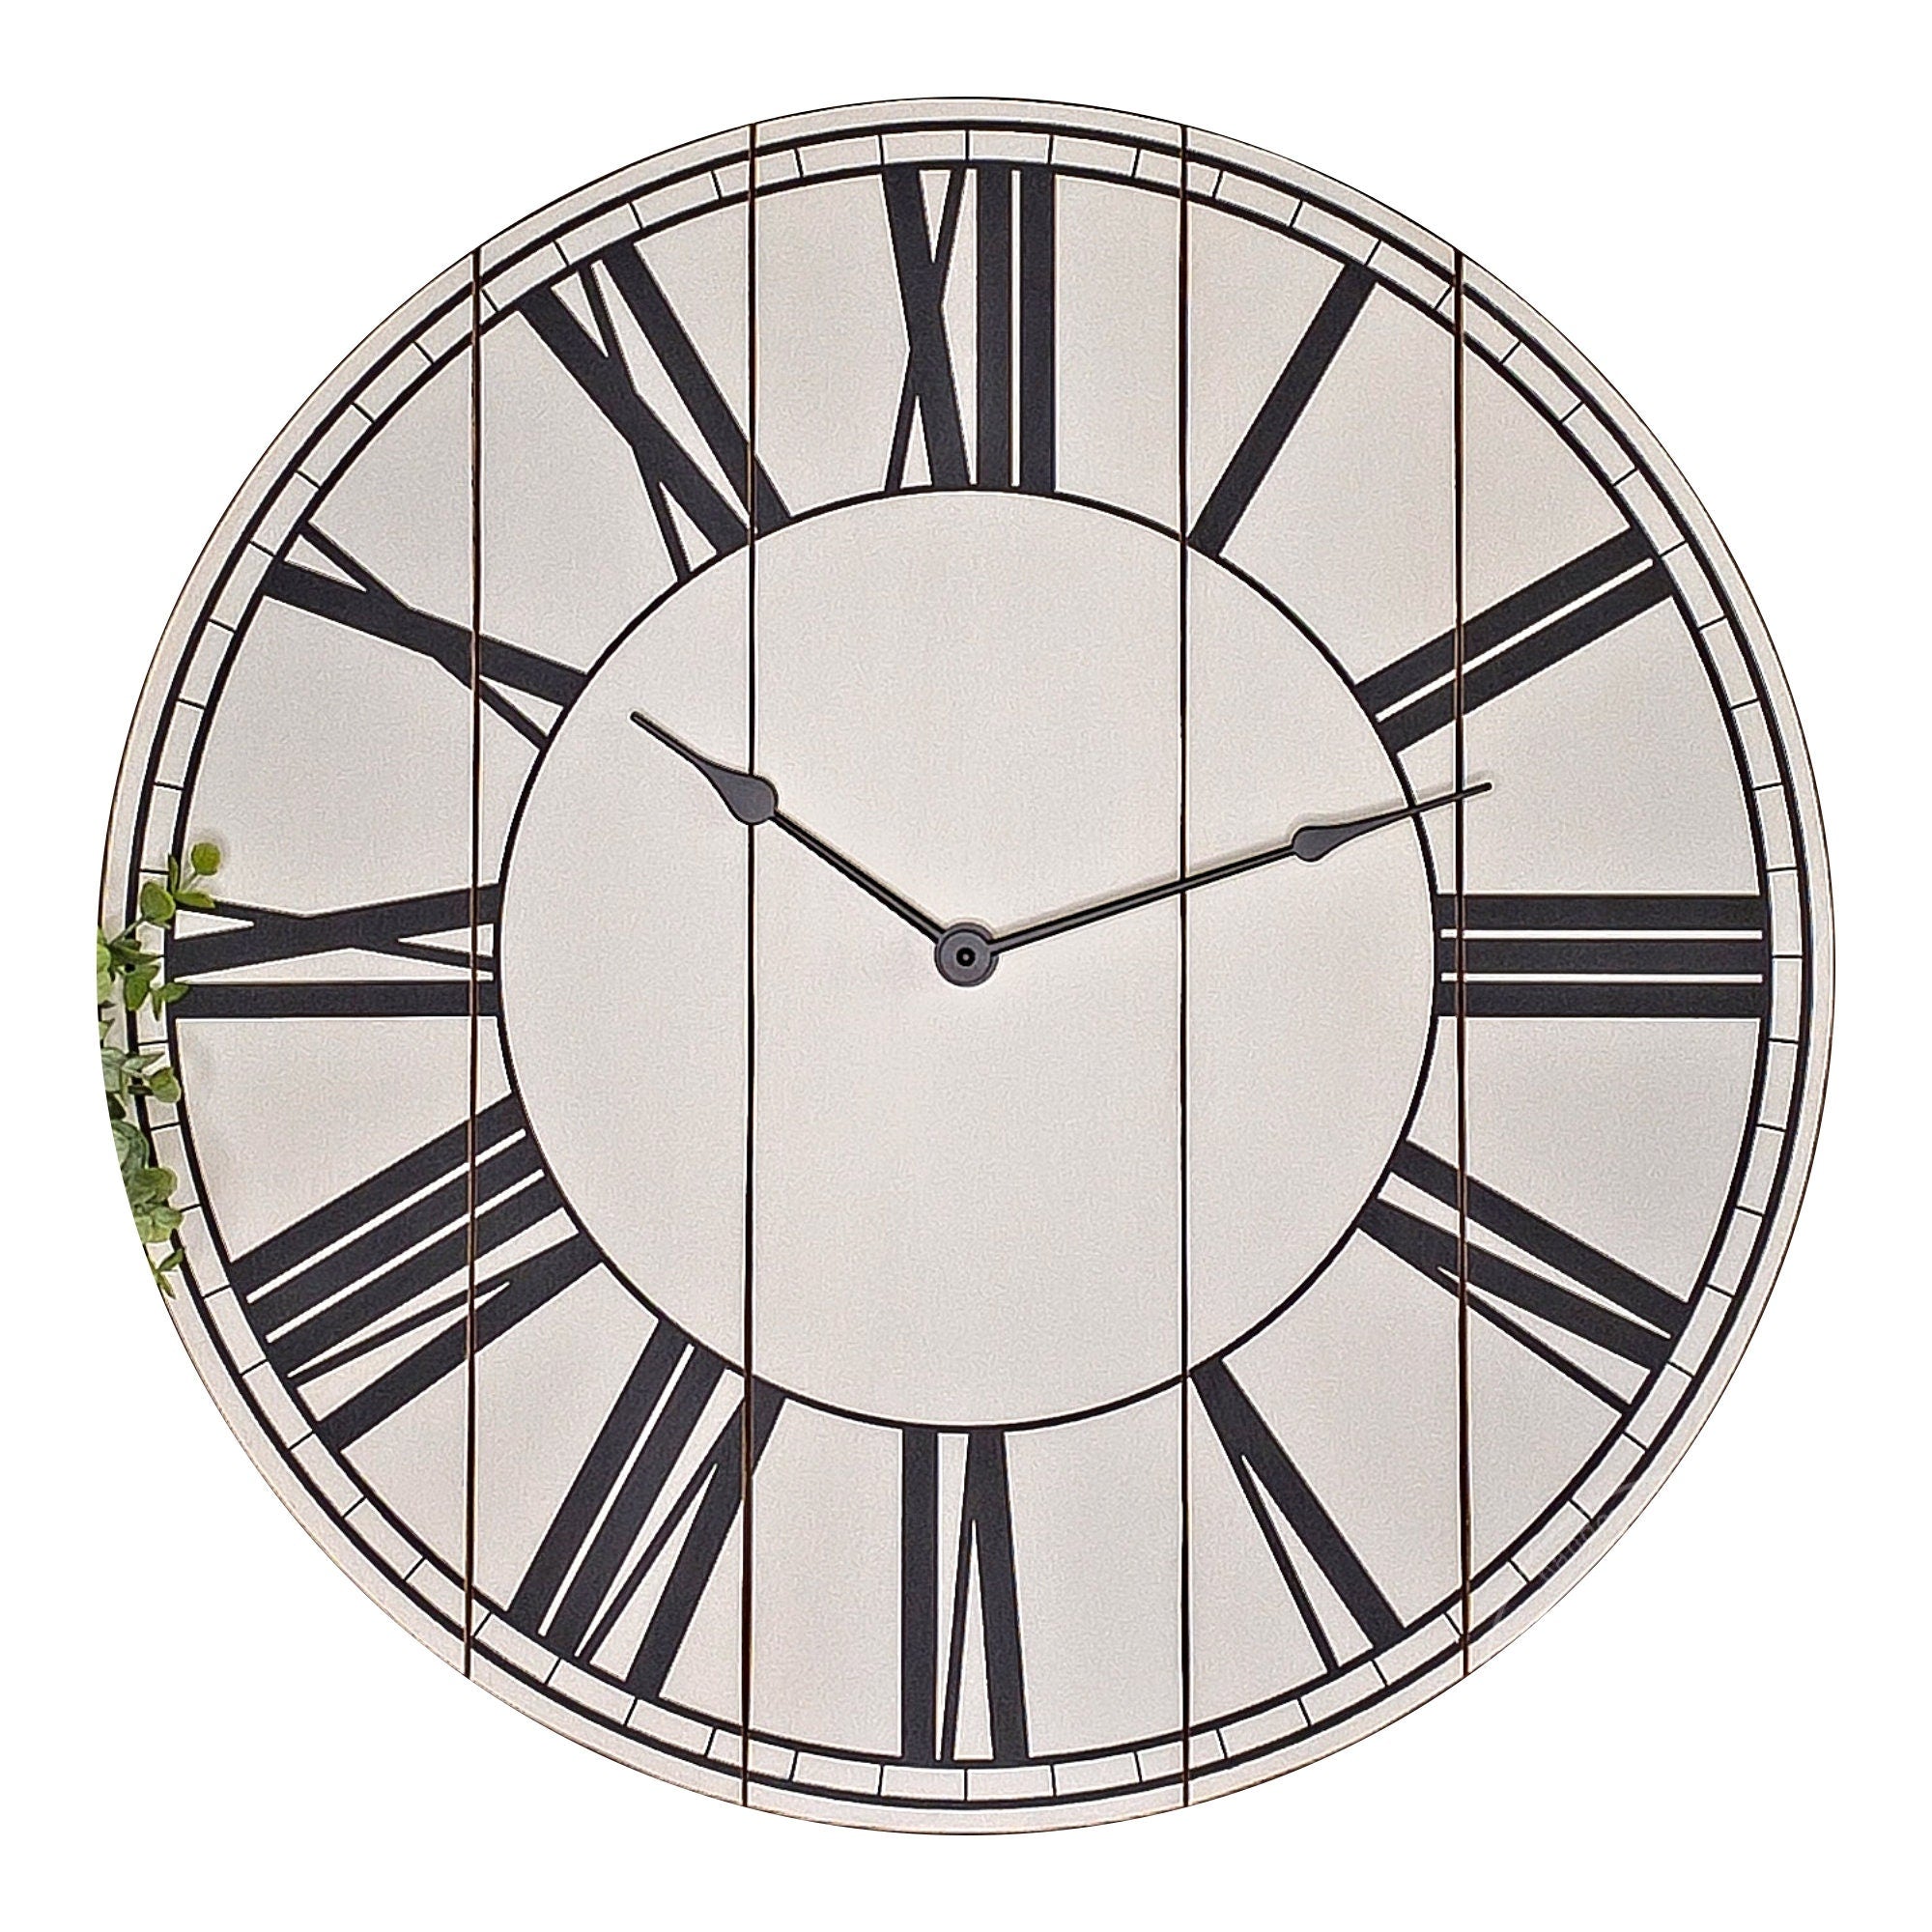
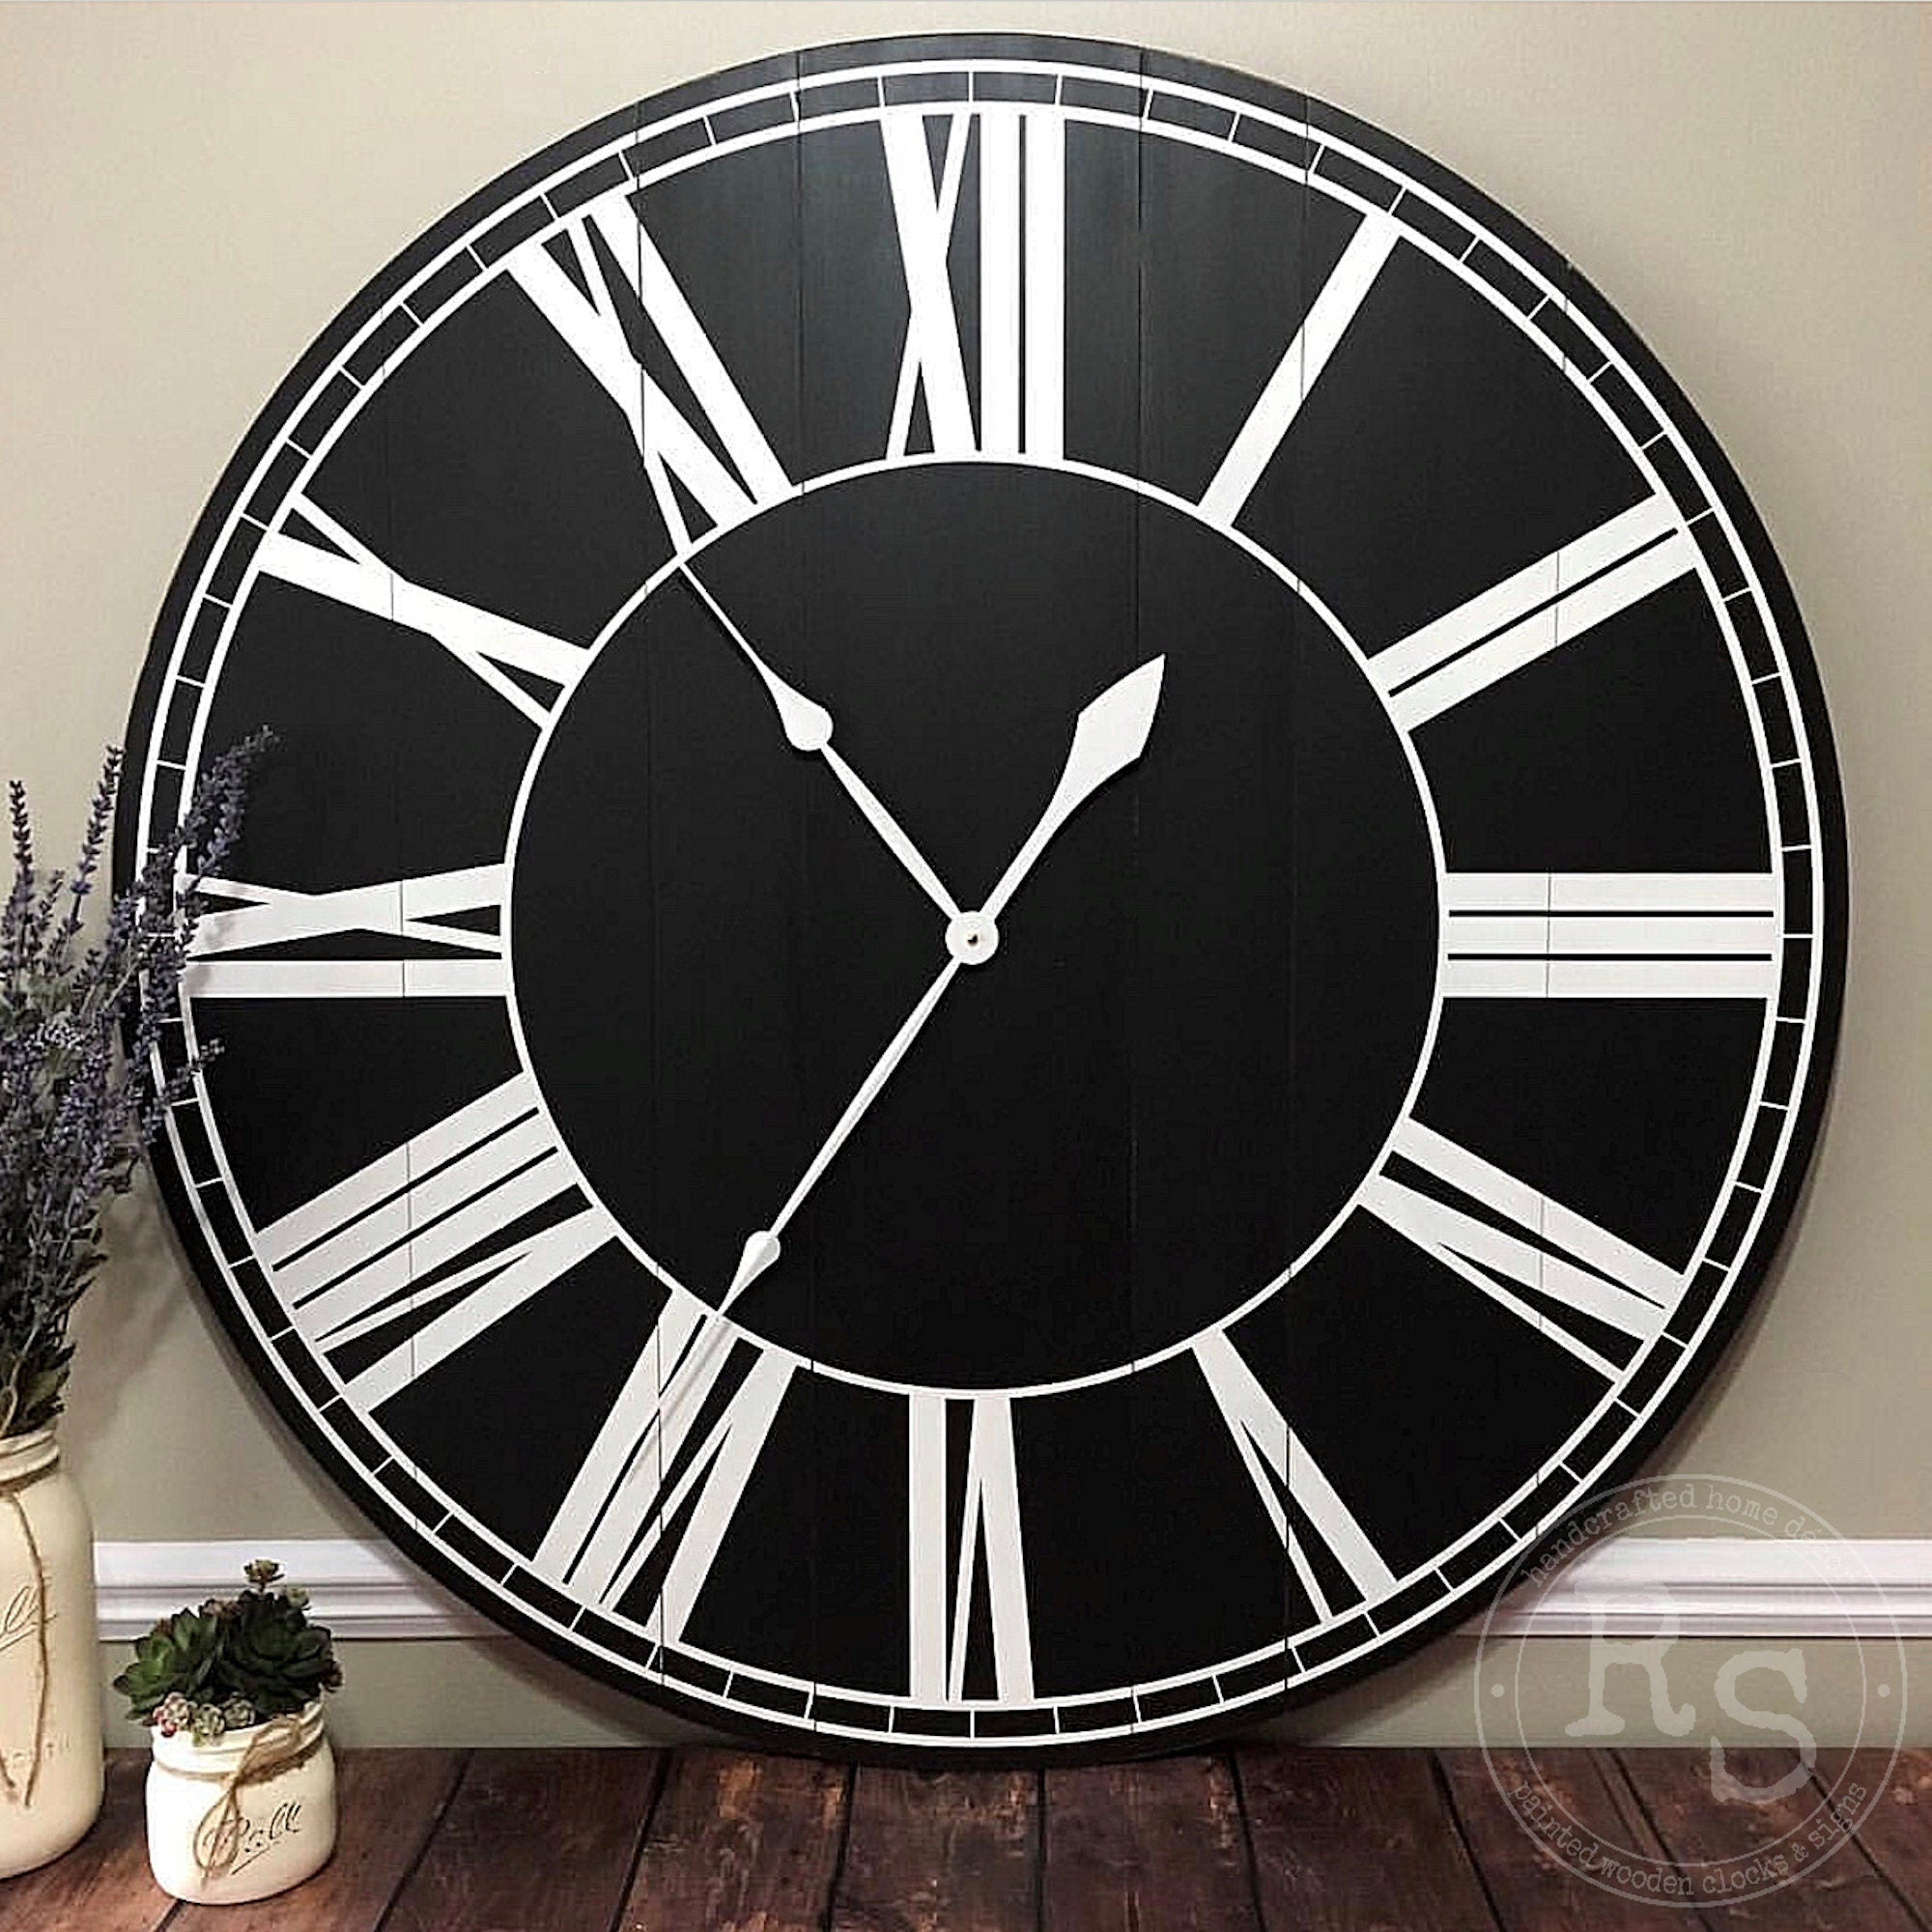
The Audrey Wooden Wall Clock
The Audrey Wooden Wall Clock is a classic farmhouse piece that blends elegant, simple design with natural wood. Crafted from high-quality, sustainably sourced wood, this clock is a great way to add a warm touch of vintage style to any room. It is the perfect accent for bringing timeless beauty to any home or office.
This clock is completely handcrafted, and hand painted on selected pine board, we do not use pallet boards for our clocks.
Each clock is lightly sealed for indoor use to help keep them looking like the day you bought them.
- Are completely hand-painted.
- All clocks are made of handpicked solid pine boards. We do not use cheap materials or pallet boards for our products.
- We use silent movements only - no ticking sounds.
- All clocks are made to order. We do not mass produce.
- Materials: Wood, paint and stain.
- 26 inch and larger sized clocks come partially assembled due to their size.
- Requires an AA battery not included.
WOOD INFORMATION
Please note that even though we do not use pallet boards for any of our products, the wood we do use for our clocks and signs is still not perfect as it contains knots, heavy grain markings and other light imperfections. We do not avoid these as we feel that this is what adds to the character of our clocks and signs and is what gives them the rustic look that we are very well known for. You should expect to see these markings in your clocks and/or sign and should not be considered a defect.
Not all wood takes stain colors the same. There is a possibility that you will see variations in colors in each board we use, or your clock may take the stain a bit lighter or darker depending on the pine species we used for your clock or the grains in each individual board and we do not avoid this. This is what gives our clocks character. This is also why we are not able to match the stain colors on your clock to the color of stain you have your home.
Please also keep in mind that climate changes affect wood. You may notice shrinking and/or expanding of the boards and this is normal. If you have any concerns with your clock or sign, please do not hesitate to contact us!
CLOCK ASSEMBLY AND INFO

What you will need: Screw driver, wrench, rubber mallet, wood glue (if you want to glue the three sections together and backboards) and bar clamps (optional).
1. Align and push together the portions of your clock. We have also included marks on the back to help you align them too. To adjust, you may use a rubber mallet to gently tap on the sides to get them into the correct alignment.
Tip - to help keep clock pushed together tightly, use a large bar clamp down the center.
2. Once you have it aligned, attach each board to the back of the clock. With the screws we have included, gently and carefully screw each one in, making sure that they are aligned with the holes that we have already drilled for you. We suggest doing the two holes in the center board of each board first, this way if the boards have expanded (due to climate change), you can create new holes if needed. If you use a power drill, please use caution not to tighten the screws too tight or lower than we have drilled as you could go through face of clock.
PLEASE NOTE: You may see additional holes when trying to align the backboards on the back of your clock, this sometimes happens during our processing and is nothing to worry about. Just make sure that the backboards are securely attached.
3. Insert clock movement and then add clock hands (instructions below).
4. We have included D-Rings. They have either been installed for you or sent in a bag for you to attach yourself. You may use the D-Rings alone to hang your clock or you could attach picture wire (not included) to the D-Rings to make hanging and leveling easier.
5. Insert a new AA battery, set the time and enjoy your new Rusty Star Clock!
-----------------------------------------------------------------
CLOCK HAND ASSEMBLY AND ADJUSTING

1. Use rubber spacer gasket between movement and dial to hold movement in position without having to over-tighten the mounting nut.
2. Place a brass washer between the dial and the mounting nut to prevent the nut from marring the dial as you tighten it down.
3. Tighten the mounting nut down only enough to hold the movement firmly in position. DO NOT OVER TIGHTEN. If the movement can rotate in your clock case, timekeeping will be affected.
4. Temporarily place the minute hand over the “I” shaft as illustrated and rotate the hand clock-wise until it is pointing at the 12 on the dial. Lift the hand off.
5. Choose any hour on your dial to align the hour hand with. Very carefully, press the hour hand straight down onto the tapered, friction-fit hour shaft until the hand is firmly in place. In the event that the hour hand is not perfectly aligned with the number on the dial that you have chosen, DO NOT try to rotate the hand hub on the tapered shaft. Lift the hand straight off. Realign the tip of the hand with the number and press the hand on correctly.
6. When you have the hour hand mounted, carefully remount the minute hand at 12:00. While holding the tip of the minute hand between your thumb and forefinger at the 12:00 position, thread on the closed nut .
7. Insert a new, fresh alkaline AA battery into your movement (observing +/- polarity marking) and set the correct time with the wheel on the back of the movement...do not manually move the hour hand (short hand) to set the time. You can manually move the minute hand only.
Tip - use a pen or pencil to insert in one of the holes on the wheel, this makes rotating the wheel easier). Keep in mind that even a new battery can be defective.
8. Make certain that there is clearance between the hands. Also make sure there is clearance between the hands and the dial. This will stop or slow down the movement. If the hour hand is not keeping proper time, it may be slipping on the shaft. Insure it is pushed down snug on the shaft.
-----------------------------------------------------------------
CLOCK TROUBLESHOOTING
Below are some questions to help solve any issues you may have with the movements and hands that came with your Rusty Star Clock. If you need further assistance, please send us an email, including an explanation as to what is happening to rustystardesigns@gmail.com
- Make sure you have a new alkaline battery and that the battery is installed correctly.
- Make sure that the metal tabs are making good contact with the battery.
- Check the hands to make sure they are not touching each other or touching the dial.
HOUR HAND DROPS TO THE SIX O'CLOCK POSITION AND WILL NOT MOVE UP - OR IT SLIPS:
- The hour hand shaft on the movement is tapered (smaller at the top and bigger at the bottom). The more you push the hour hand down on the shaft, the tighter on the shaft the hand should get. Gently push the hand down on the shaft. If your hand has a brass bushing, it may be slipping.
- Gears could be stripped in the movement. To check this, make a mark on the shaft with a marker and turn the wheel on the back of the movement. Check to see if the mark moves. If so, it is probably NOT a stripped gear.
MINUTE HAND WILL NOT GO ON MOVEMENT SHAFT:
- Make sure that the minute hand is lined up with the oblong shaft of the movement, you will know when it is as it will drop on the shaft to allow the cap nut to be installed.
THE MINUTE HAND IS FLOPPING AROUND:
- The cap nut is not tight, cross-threaded, or stripped. Look at the cap nut to see if it is on the minute hand shaft straight. If not, remove the cap nut and replace it correctly on the shaft. It should go on smoothly and be square to the shaft, not angled up or down. Hold the minute hand in place with one hand and tighten the nut with your other hand until it makes good flat contact and is reasonably tight to keep the minute hand from flopping. DO NOT OVER-TIGHTEN as you can strip the brass nut or shaft.
HANDS TOUCH EACH OTHER OR TOUCH THE DIAL:
- First, make sure the base of the hand, where the hole is, is parallel with the dial, not tilted up or down. This can make the hand be low on one side of the dial and high on the other. In most cases, that will solve the problem. If not, then carefully bend the hand(s) so they will clear.
MY CLOCK IS RUNNING SLOW:
- Insert a new battery taking care to insert negative and positive ends correctly.
MY CLOCK IS RUNNING FAST:
- Movements may gain or lose a few minutes a year - this is not a defect.
- Defective movement.
PRODUCTION TIME AND SHIPPING
Because all of our products are handmade/made to order, please allow us at least 3-4 weeks on signs and 4-6 weeks on clocks for us to complete your order and prepare it for shipping. It is our goal here at Rusty Star to provide you with excellent service for both the quality of our products as well as the shipment of your order.
SHIPPING
All orders will be shipped via UPS Ground and will be received in 3-4 days once your order has shipped.
CUSTOMER PICK-UP
If you are local to us, we do offer customer pick-up. All customer pick-up orders MUST be picked up at our place of business and are by appointment only. If you are not here by your appointment time, you will need to call us and reschedule for a different time. All pick-ups must be done by 5:00pm, Monday - Friday.


